The approach
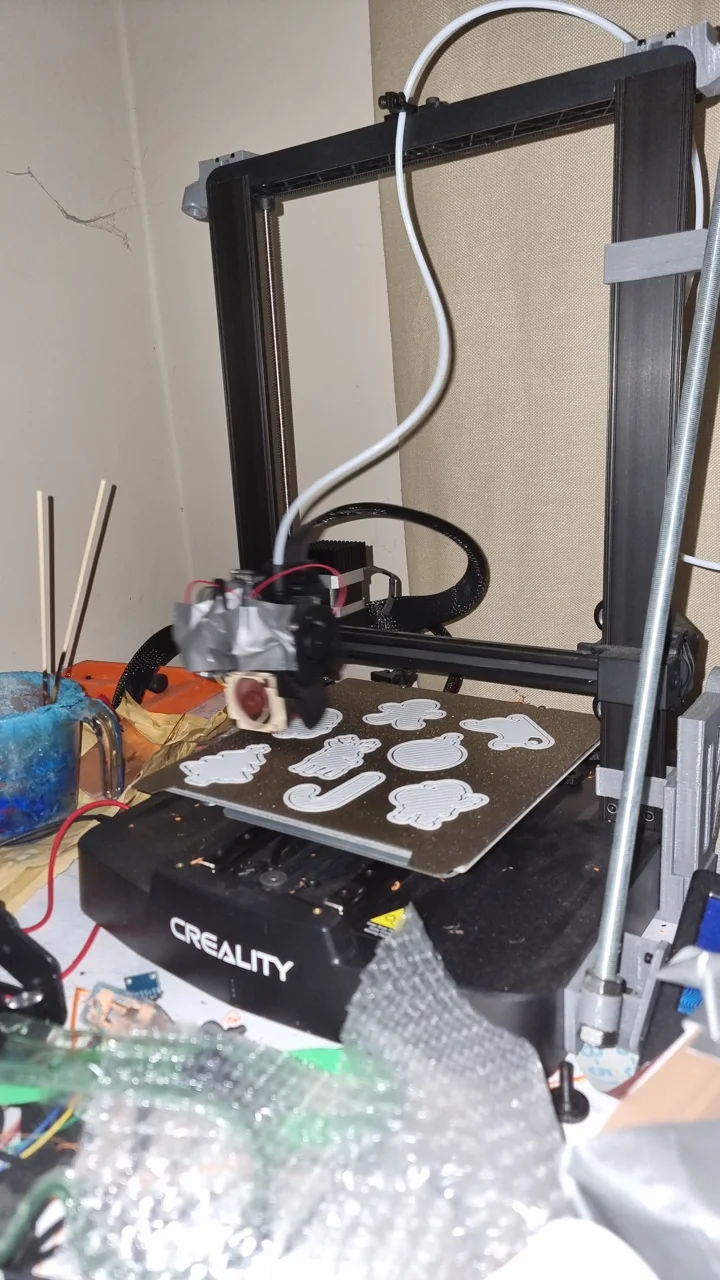
I have been modifying an Ender 3 V3 SE in stages, using it as both a working printer and a practical systems-integration project. The aim is to understand the limits of the motion system, cooling and firmware while developing my own printed parts and mounts.
The first group of modifications is in use. Further motion, sensing and toolhead changes are still planned or in progress.
Completed modifications
| Area | Work completed | Purpose |
|---|---|---|
| Motion | Y-axis MGN12 linear rail and gantry bracing | Improve the mechanical support and consistency of movement |
| Filament feed | Side-mounted spool holder with bearings and a guided filament path | Reduce drag and move the spool away from the top of the gantry |
| Hotend | Ceramic hotend upgrade | Extend the printer’s material-handling setup |
| Cooling | Noctua heatsink fan adapter and dual 5015 blower ducts | Rework hotend and part cooling with printed mounts |
| Control | Klipper running with a Raspberry Pi 4 | Configure motion control, macros and remote operation |
| Build surface | PEI-coated spring steel sheet | Make part removal and bed preparation more convenient |
| Monitoring | Camera streaming through Crowsnest | Check a print remotely |
The cooling work involved designing and printing adapters and ducts around the existing toolhead. Packaging mattered: the fan mounts, wiring and filament path all had to work in the same restricted space.
Firmware and tuning
Moving to Klipper gave me a configurable system for working with input shaping, pressure advance and print macros. It also made the printer easier to monitor and adjust from another machine on the network.
My earlier notes reported print speeds of roughly 150–200 mm/s after the first set of changes, compared with around 60 mm/s before. These were observations from use, not a controlled benchmark across the same part and settings. The more useful outcome is a printer I can modify, diagnose and use for my other projects.
Work in progress
| Next change | Status in the build notes |
|---|---|
| X-axis linear rail | Parts acquired; installation pending |
| Belt and motion-system changes | Planned |
| BTT Eddy probing and filament motion sensing | Planned integration |
| Custom toolhead shroud | In design, bringing cooling, sensors and cable management together |
| BoxTurtle integration | Evaluating a filament cutter and the change sequence |
I am keeping these separate from the completed work. The BoxTurtle case study covers the feed system itself.
What I learned
A hardware upgrade is only one part of the job. The mount, wiring, firmware and maintenance access have to work together before a modification is useful. Building in stages also makes it easier to trace a new problem to the change that introduced it.
The printer supports my other practical work, including the PETG-CF sim racing pedals.